


Misty Wig Tutorial!
Introduction:
Welcome to my Misty wig tutorial! Here I will go through the steps of how I made my Misty wig, and hopefully give you some helpful advice.
For the side ponytail I used Kinpatsu’s ponytail tutorial which you can find HERE!
Let’s tackle this!
Material list:
1 wig, color: pumpkin
1 pack of wefts x 2
Hot glue
EVA Foam 10 mm
Worbla for anchor
Metal wire
G2B Yellow Hair Spray
Contact glue
Tools:
Glue gun
Scissor and a thinning scissor
Comb
Brush
Wig head
Wig stand
Utility knife/ box cutter
Drill
Step 1: Harness
I made a little anchor underneath the wig. I used two double layers of worbla and made a cross with a little stopper in the middle for the metal part. Wrap the worbla around the metal part while the worbla is still warm. (Be sure to know how long you want your metal part before fusing it together with worbla)
Then shape the worbla cross on top of a wig head for it to take a rounder shape.
Step 2: Side ponytail base
Draw a pattern of how big you want your ponytail base to be. Then hold it up against your head so you can see if the scale fits the result you want (a long round shape is what I usually go for when I make ponytails).
Get some layers of 10mm EVA foam and glue them together with contact glue. (You need to apply the glue on both surfaces and it needs to look dry before you press them together)
Use a utility knife and cut your foam base until you get a round shape, then use a dremel to make it even smoother.
Use a drill with a drill bit the same size/diameter as your metal part, and drill a hole straight into the underside of your EVA ponytail base.
Step 3: Glue wefts.
Get your trusty glue gun, it’s time to glue some wefts! Start from the top of the EVA foam base, apply glue onto the wefts and glue them onto the EVA foam in a circle shape.
You repeat this all the way around until you reach the “bottom” of the base.
Step 4: Trimming
Time for scissors. I cut away a lot of hair until I got the length that I wanted, but be careful so you don’t cut too much. We are gonna tease it with a comb later to make it flooffy.
When you’re happy with the length start trimming the ends to make them thinner. (The scissor with teeth) This will make it easier to make them point out as they’re made lighter.
(I had to trim a bit more after the teasing part in step 5)
NOTE: Trim the bangs when you wear it and look in the mirror as you do it. The wig head and your head are most likely different shapes.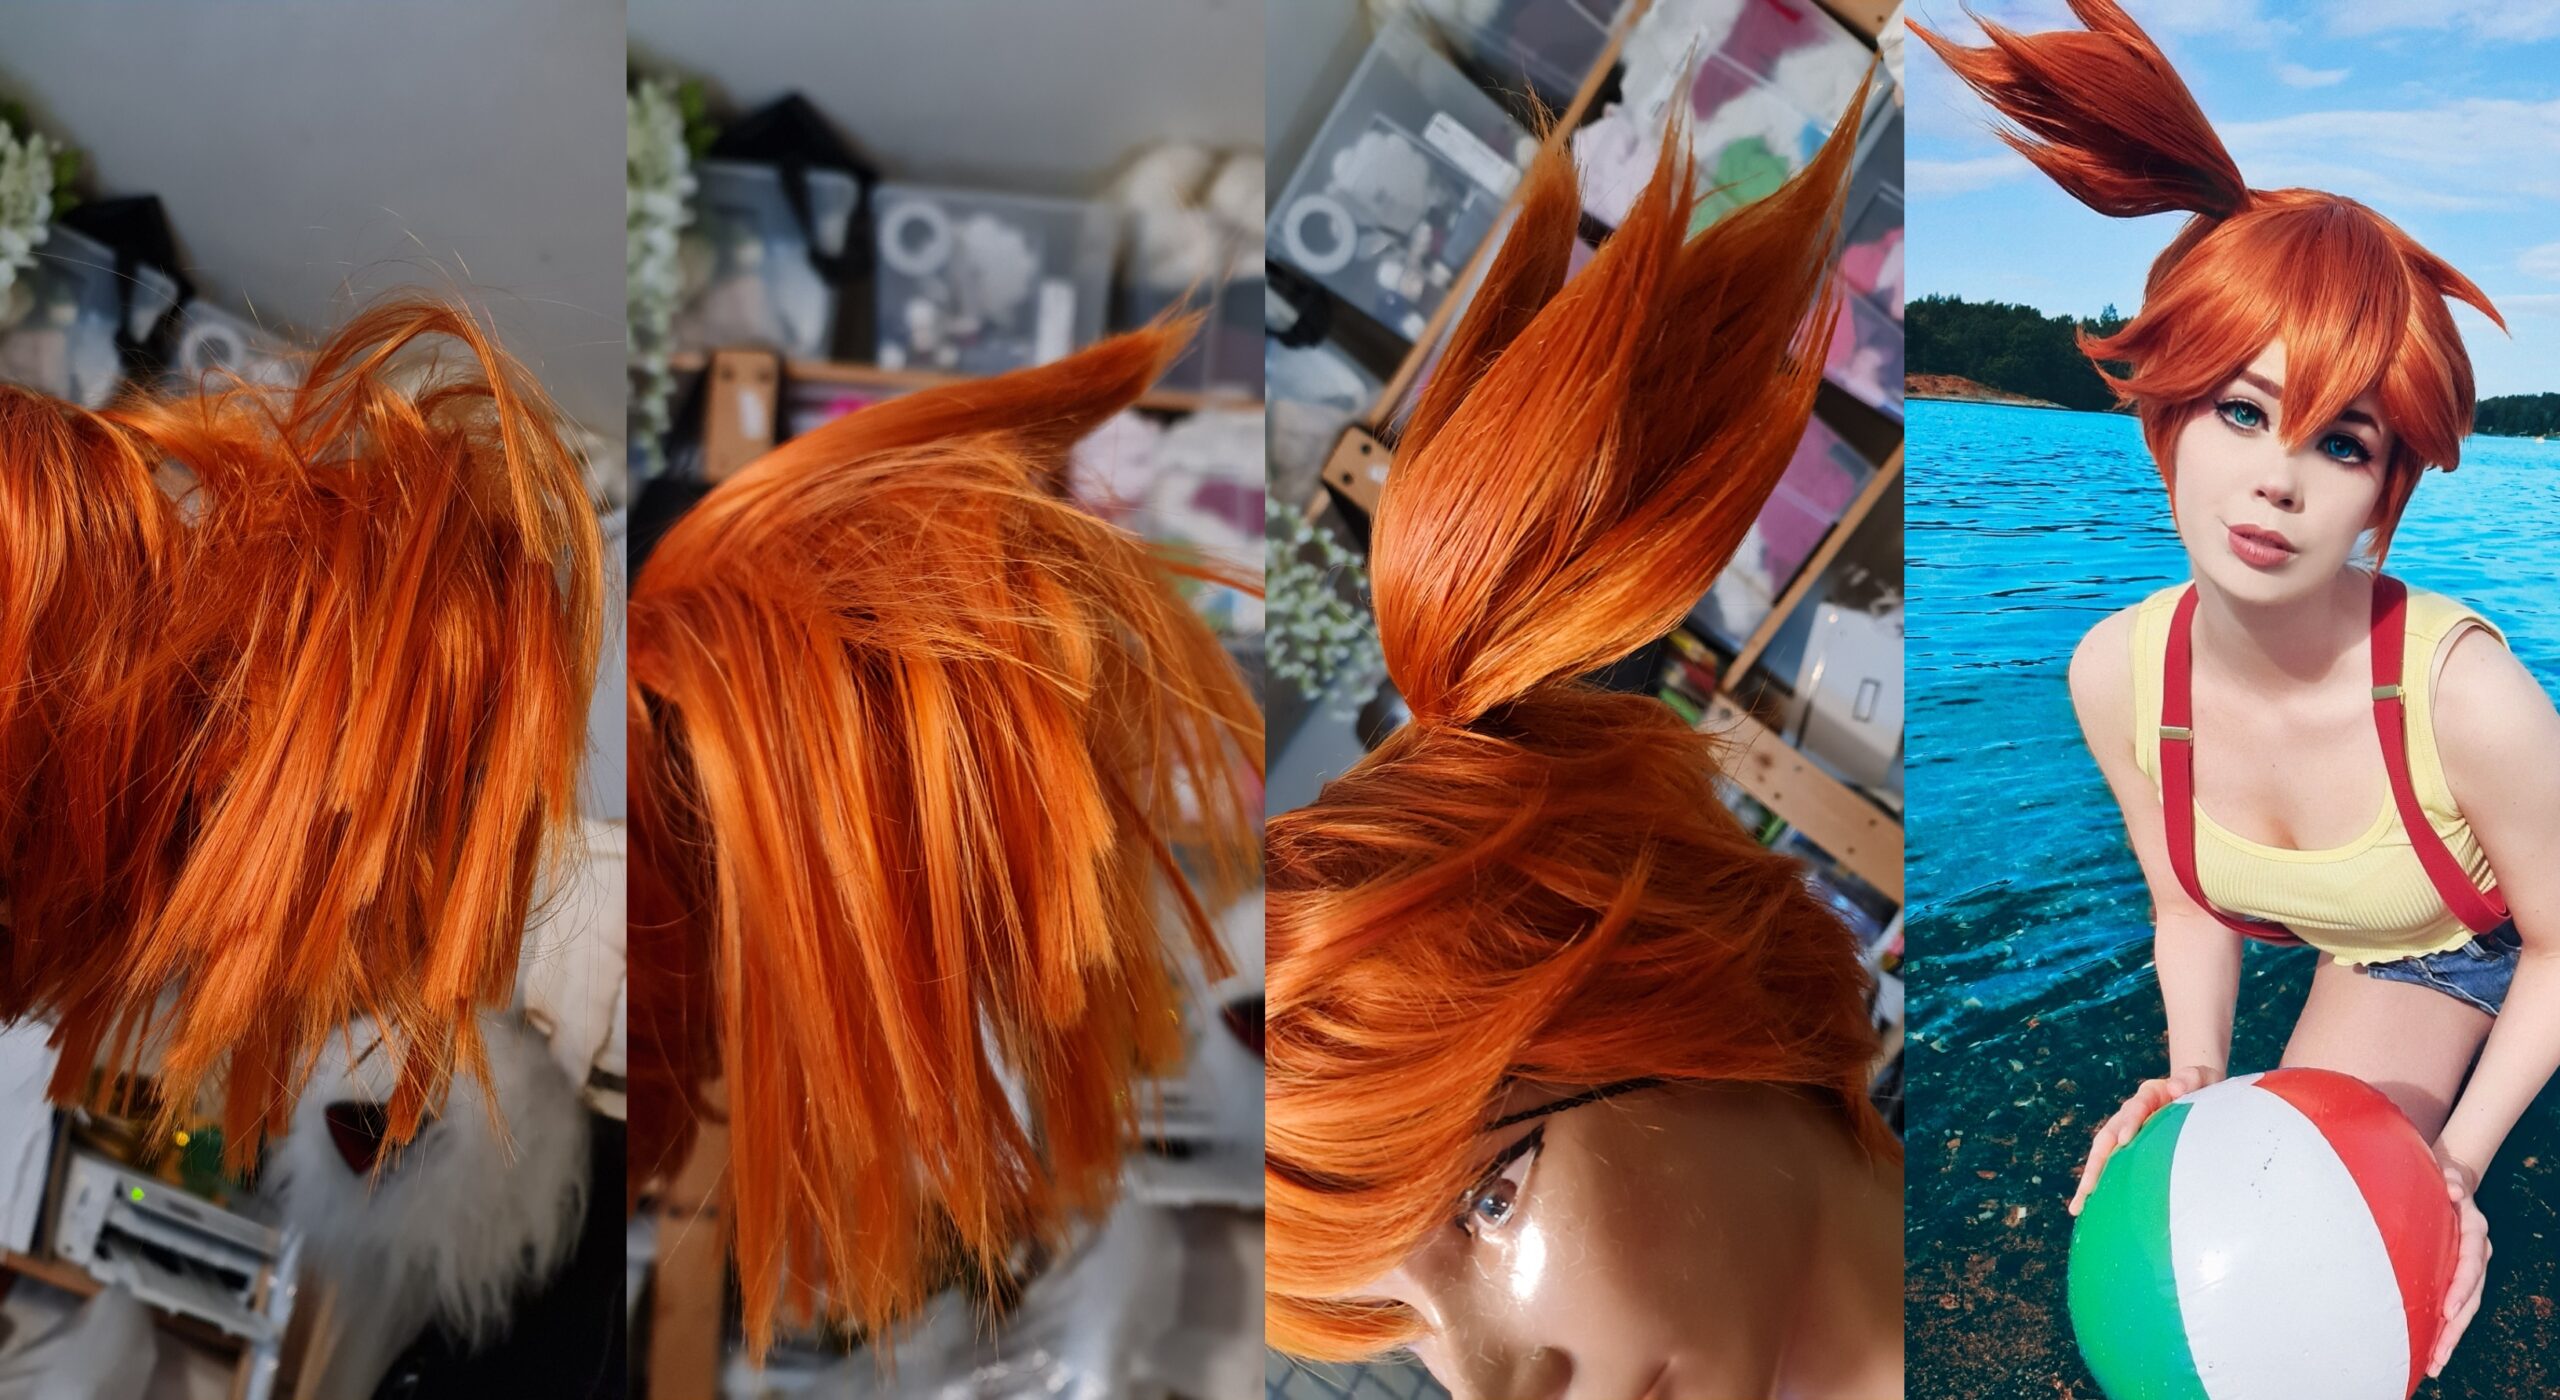
Step 5: Teasing
It is time to make your ponytail super flooff! I also do the same for the bangs.
I take a comb and tease the roots of the hair, which looks really messy at first, but after you lightly brush out the outer parts, it will stay fluffy on the inside. I separate some parts of hair and I brush lightly on the outside again to get more spikes. This might take a few tries, but just be patient.
When you are satisfied, lock it in with hair spray. (Lots)
A few liters of hair spray later you should have something that looks like the photos I displayed.
If some parts were unclear for you, feel free to contact me at [email protected]
Hope this tutorial is useful for you! Can’t wait to see your Misty wigs. 🙂 Be sure to tag me on instagram to show me @tinechan

